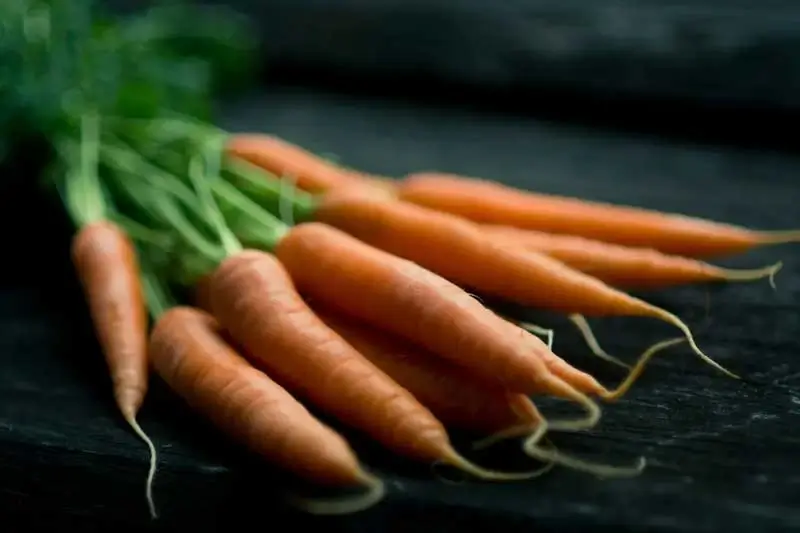
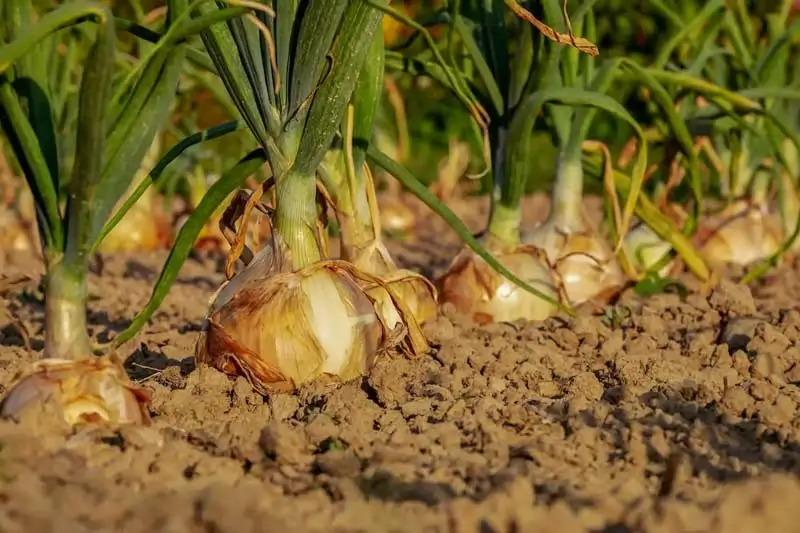
Plants
Thank you for voting!
Rainy days might seem simple at first glance, but there’s a lot more going on behind those grey skies than


Rainy days might seem simple at first glance, but there’s a lot more going on behind those grey skies than

Invasive plants are one of the most misunderstood issues in gardening. Some are undeniably attractive. Many were deliberately introduced and

Squirrels, raccoons, chipmunks, moles and voles are known for digging up and eating tulip bulbs and crocus corms. They will
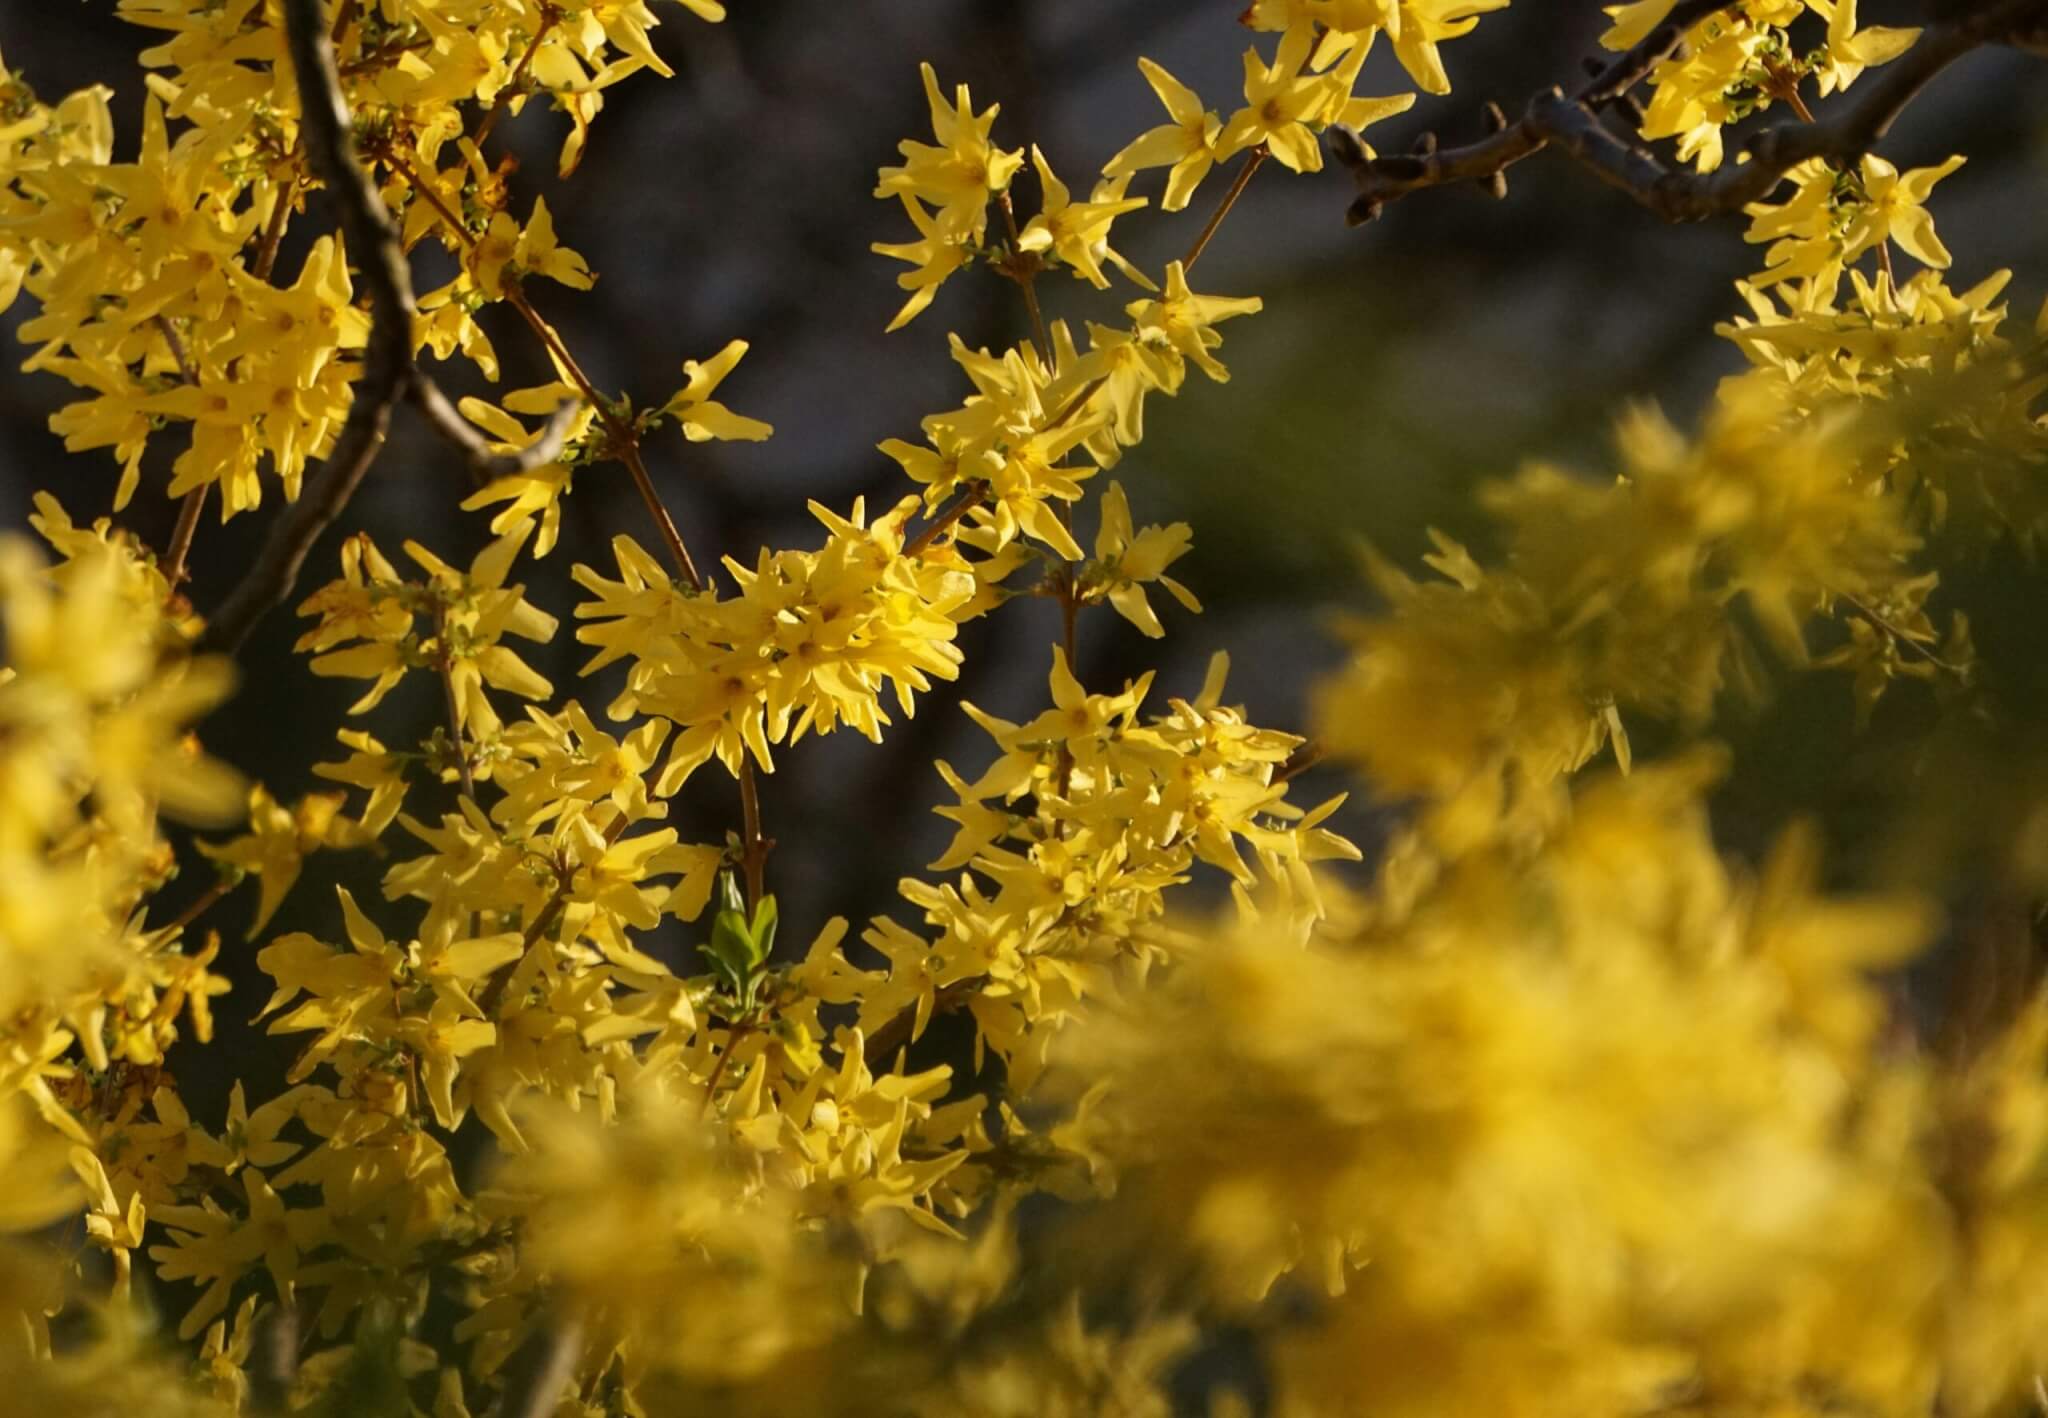
Forsythia, with its vibrant yellow blooms that emerge before the foliage, heralds the arrival of spring, brightening gardens even before
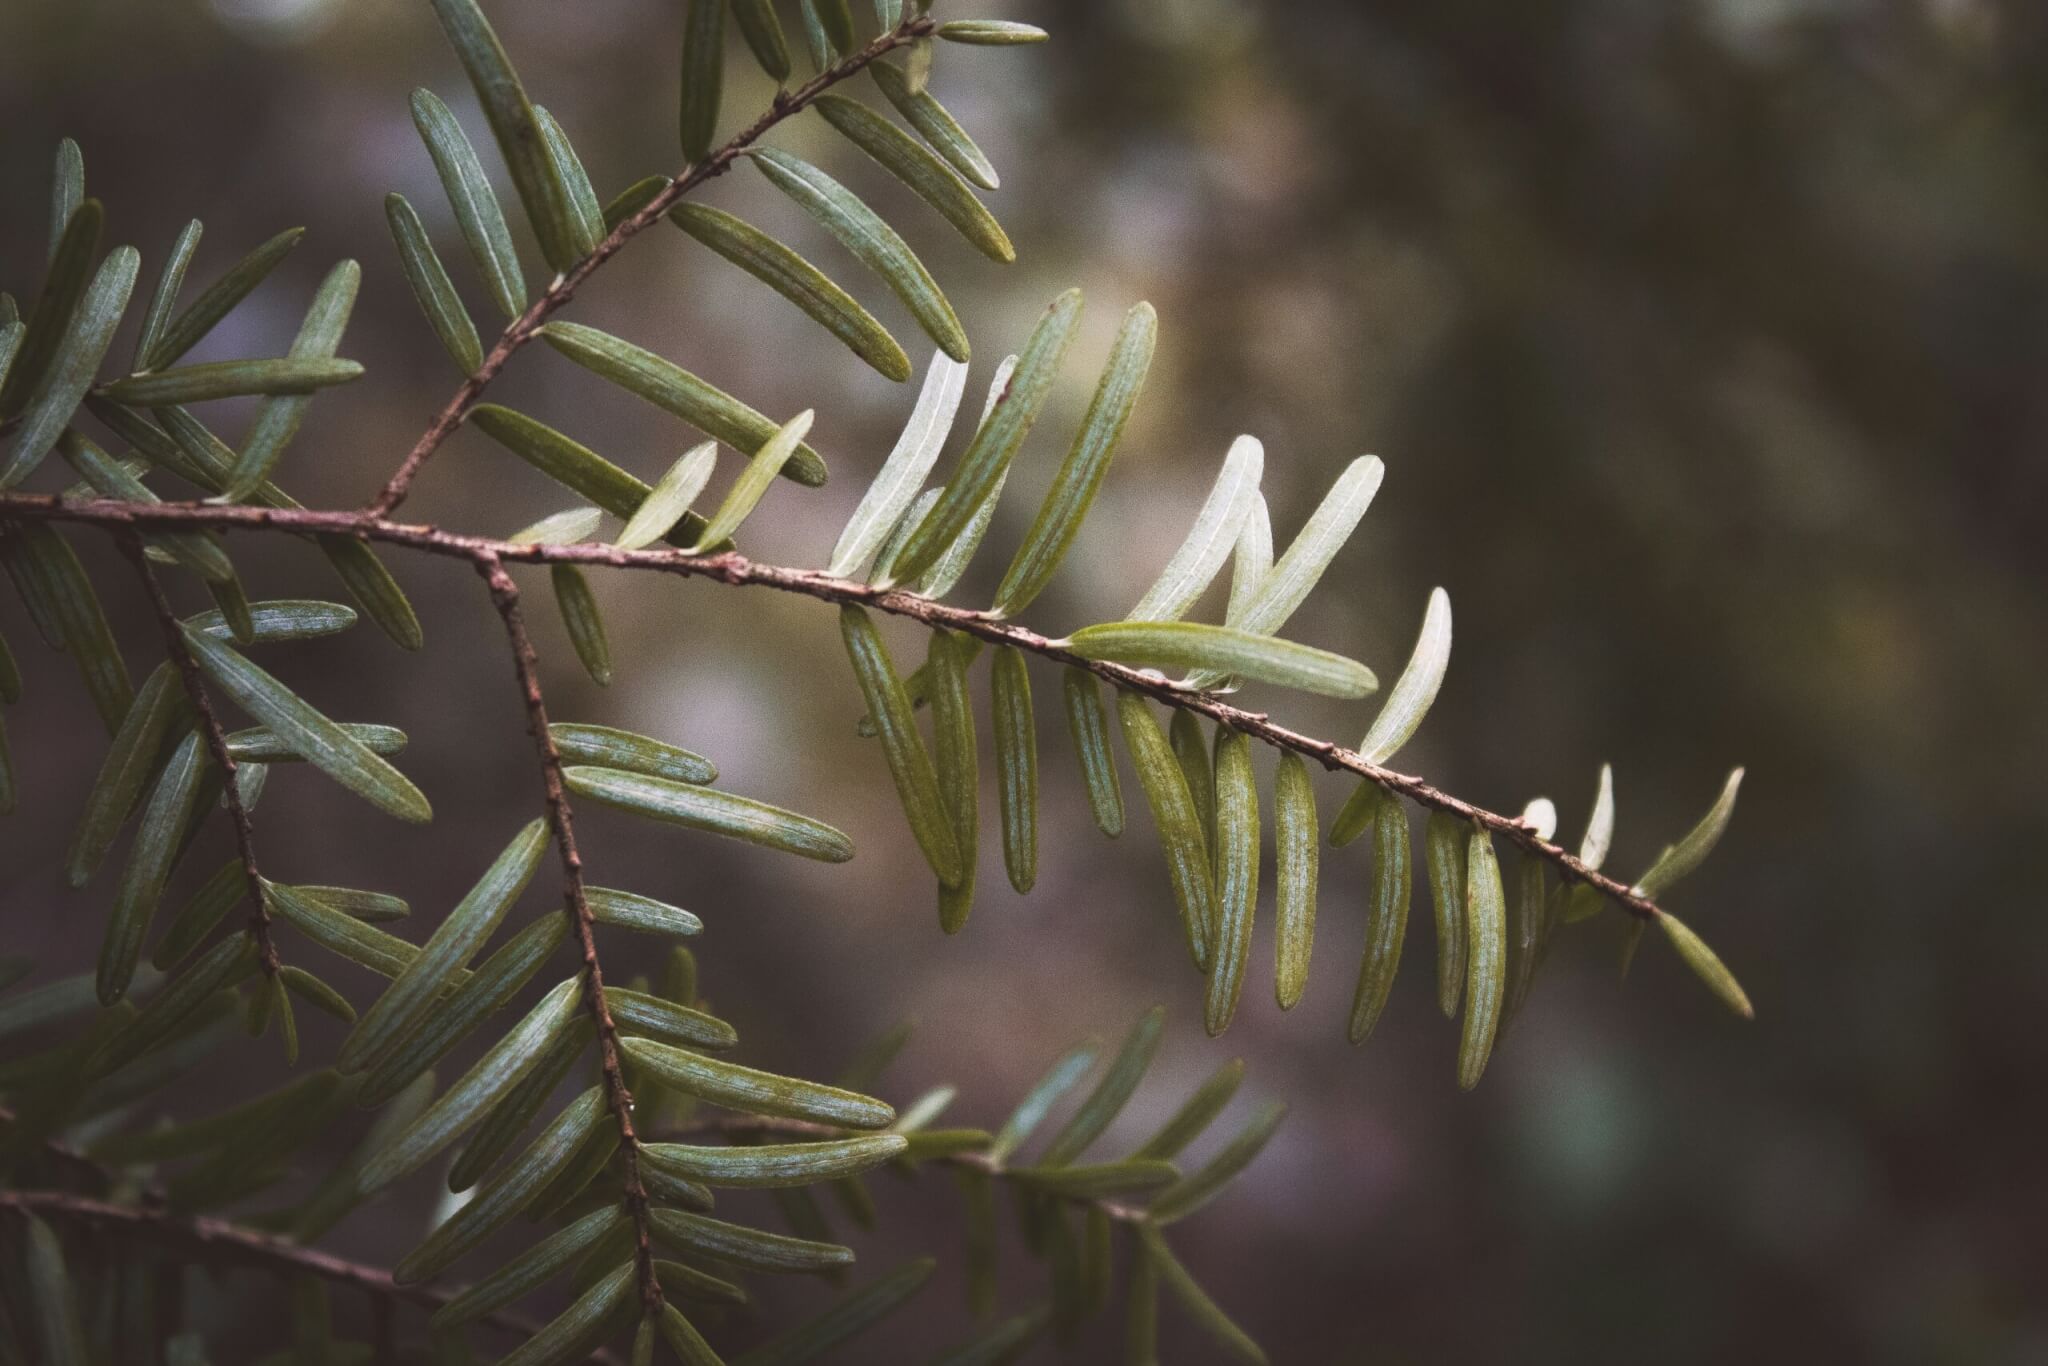
When people hear the word hemlock, they almost immediately think of poison. Many associate the name with the drink that
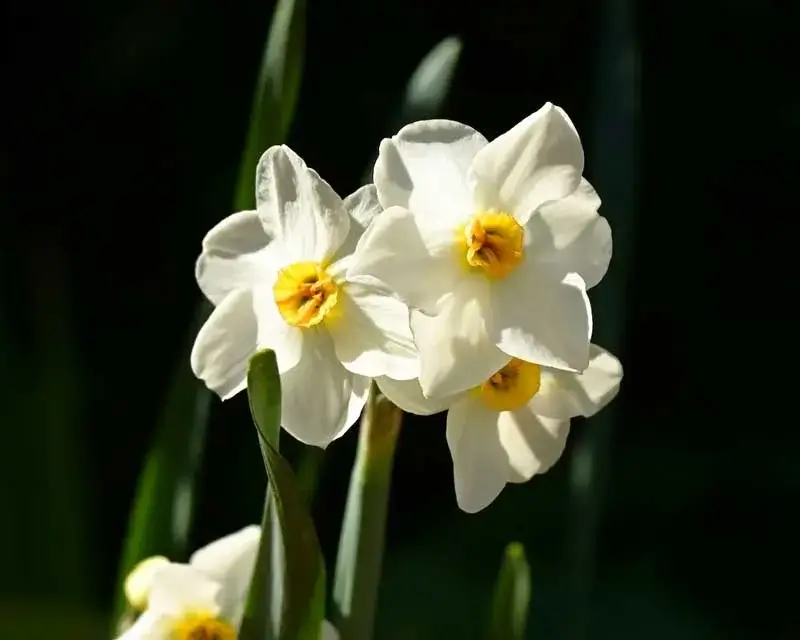
Have you ever brought home a bowl of paperwhites only to watch them shoot up overnight, lean toward
Squirrels, raccoons, chipmunks, moles and voles are known for digging up and eating tulip bulbs and crocus corms. They will

One way to stay in touch with nature throughout the winter is to feed the birds. And if you’re worried
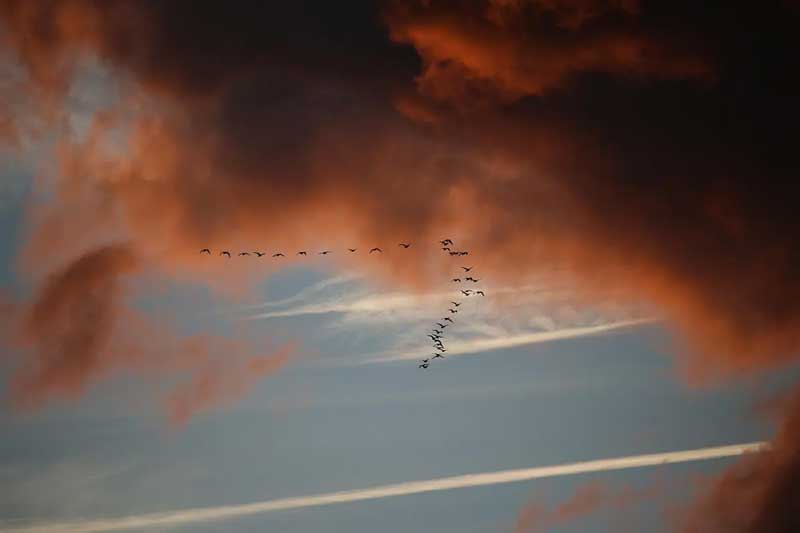
Every autumn, migrating birds in Canada take to the air in one of nature’s grandest spectacles. From tiny

Ah, the Canadian winter, a season of cozy fires, snowball fights, and, unfortunately, unexpected houseguests in the form of insects

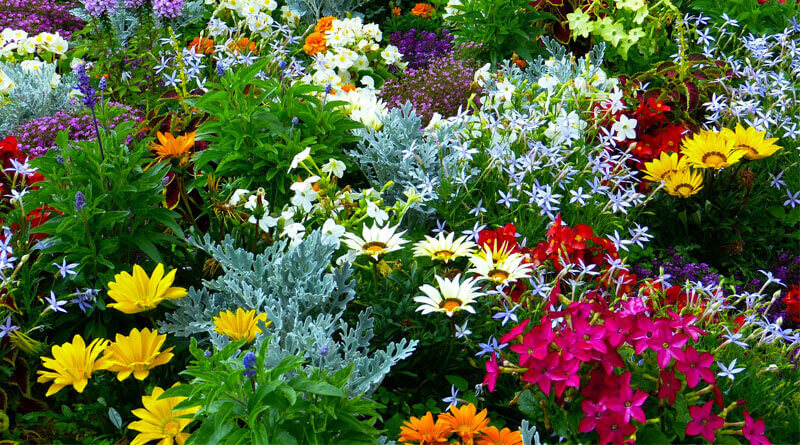
As the days grow shorter and the air begins to cool, gardeners can rely on late summer annuals to keep
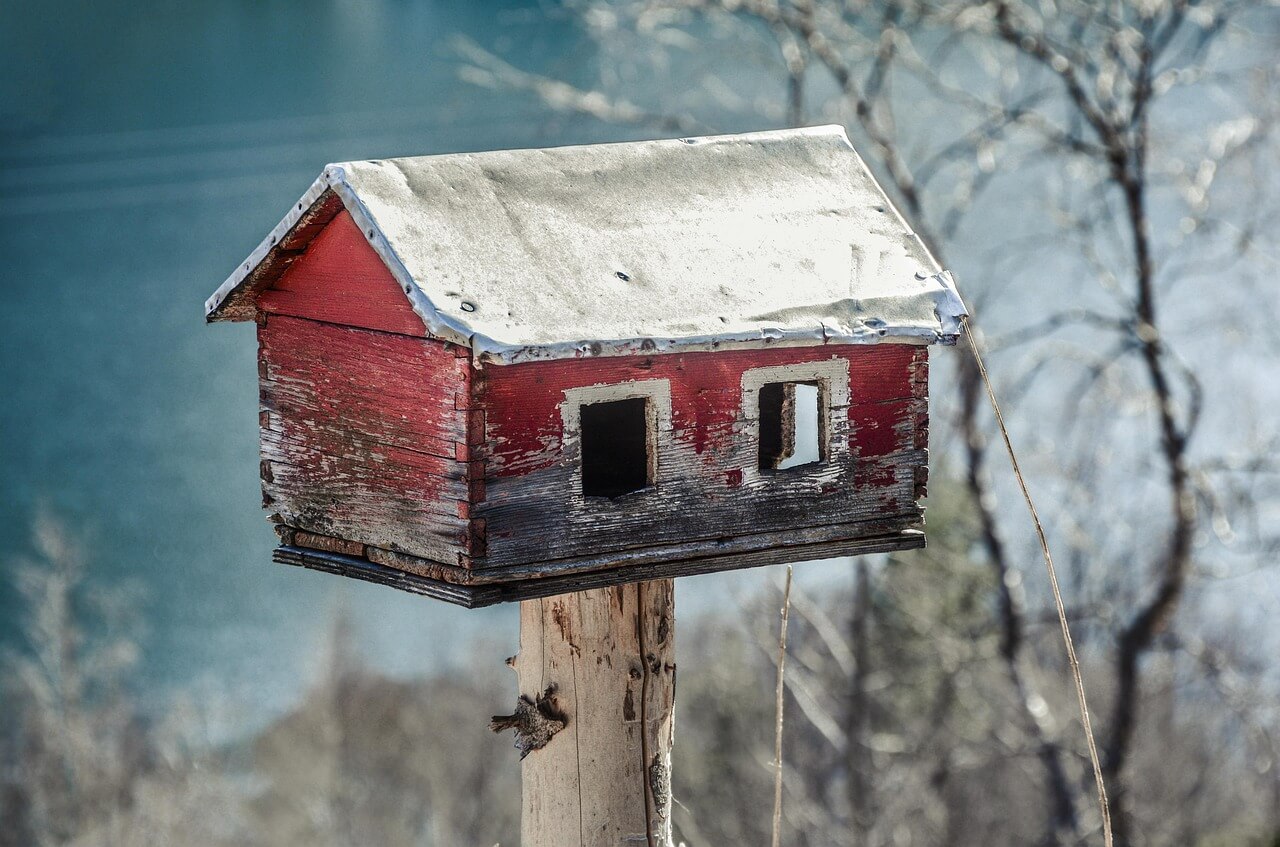
Home Tweet Home 10 Neat Things about Birdhouses for Gardens There’s something charming about a little house just for

Nestled in the heart of St. John’s, Newfoundland, Memorial University Botanical Garden is a living sanctuary of biodiversity, conservation, and public education. Spanning over 110
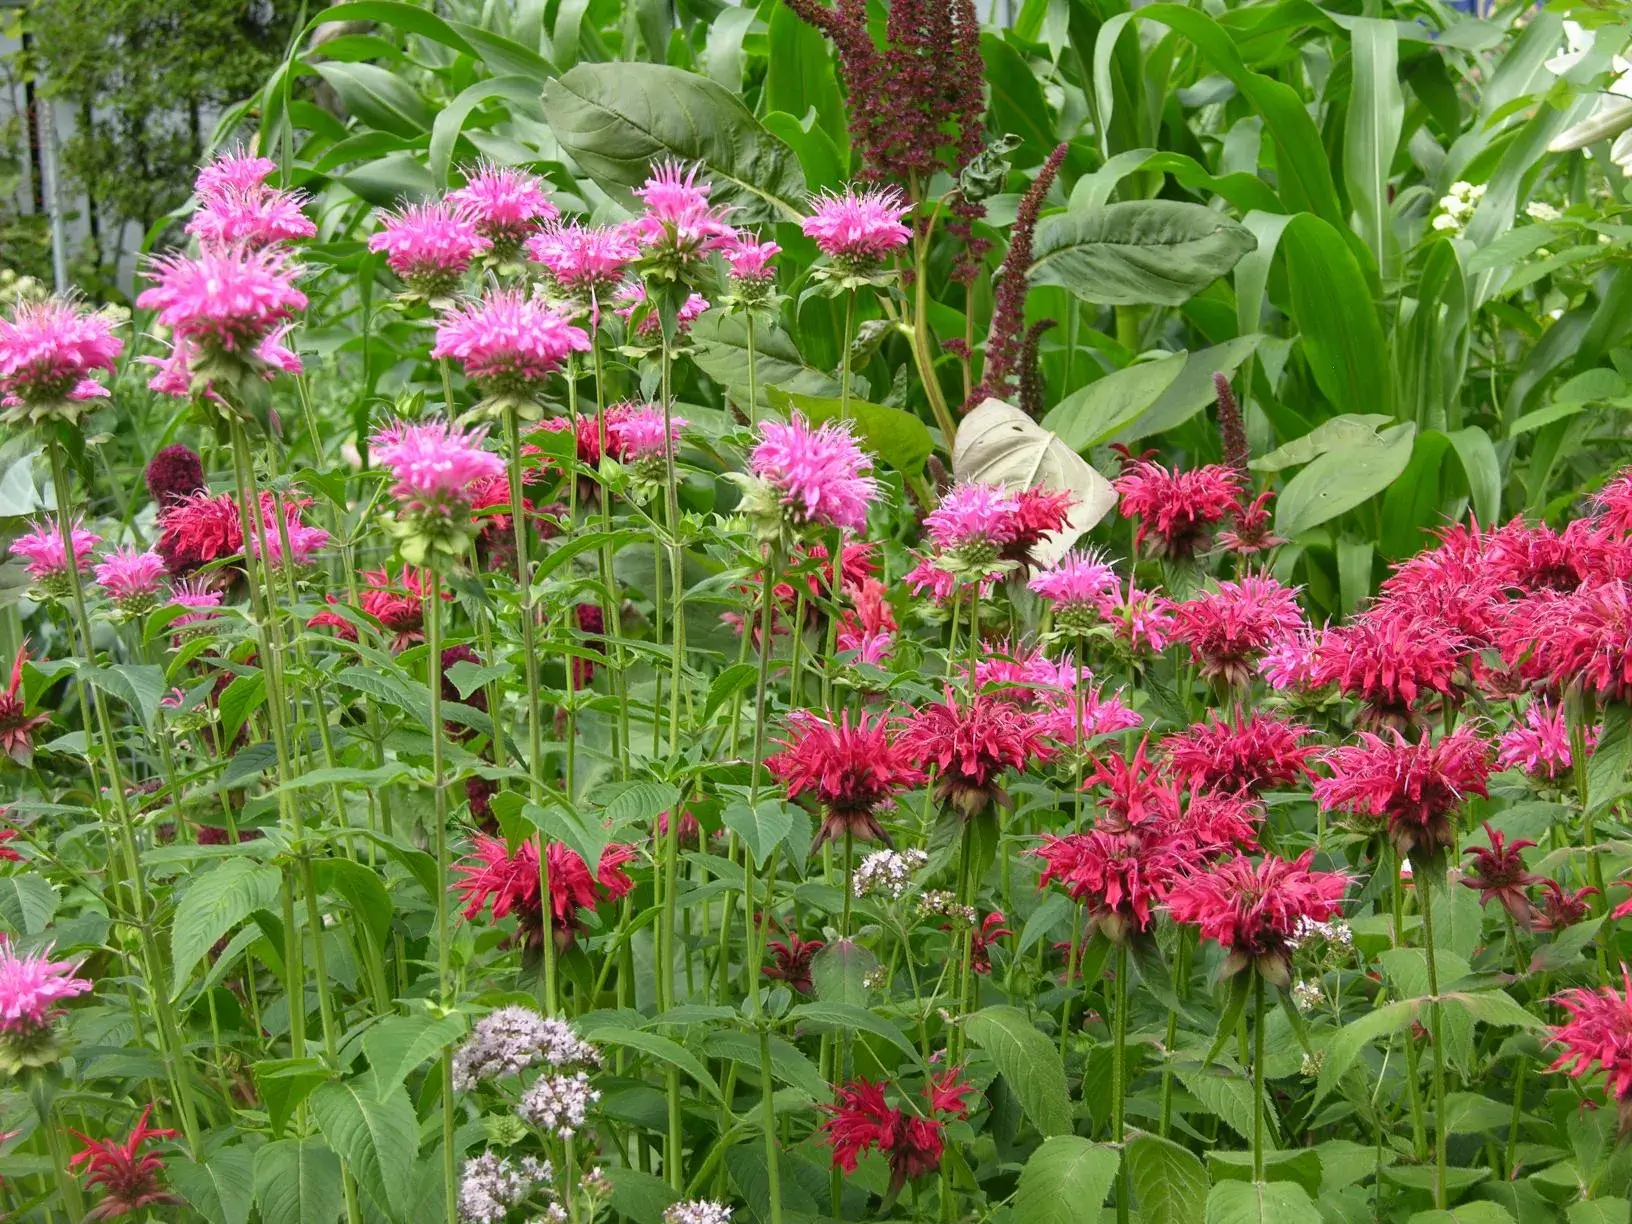
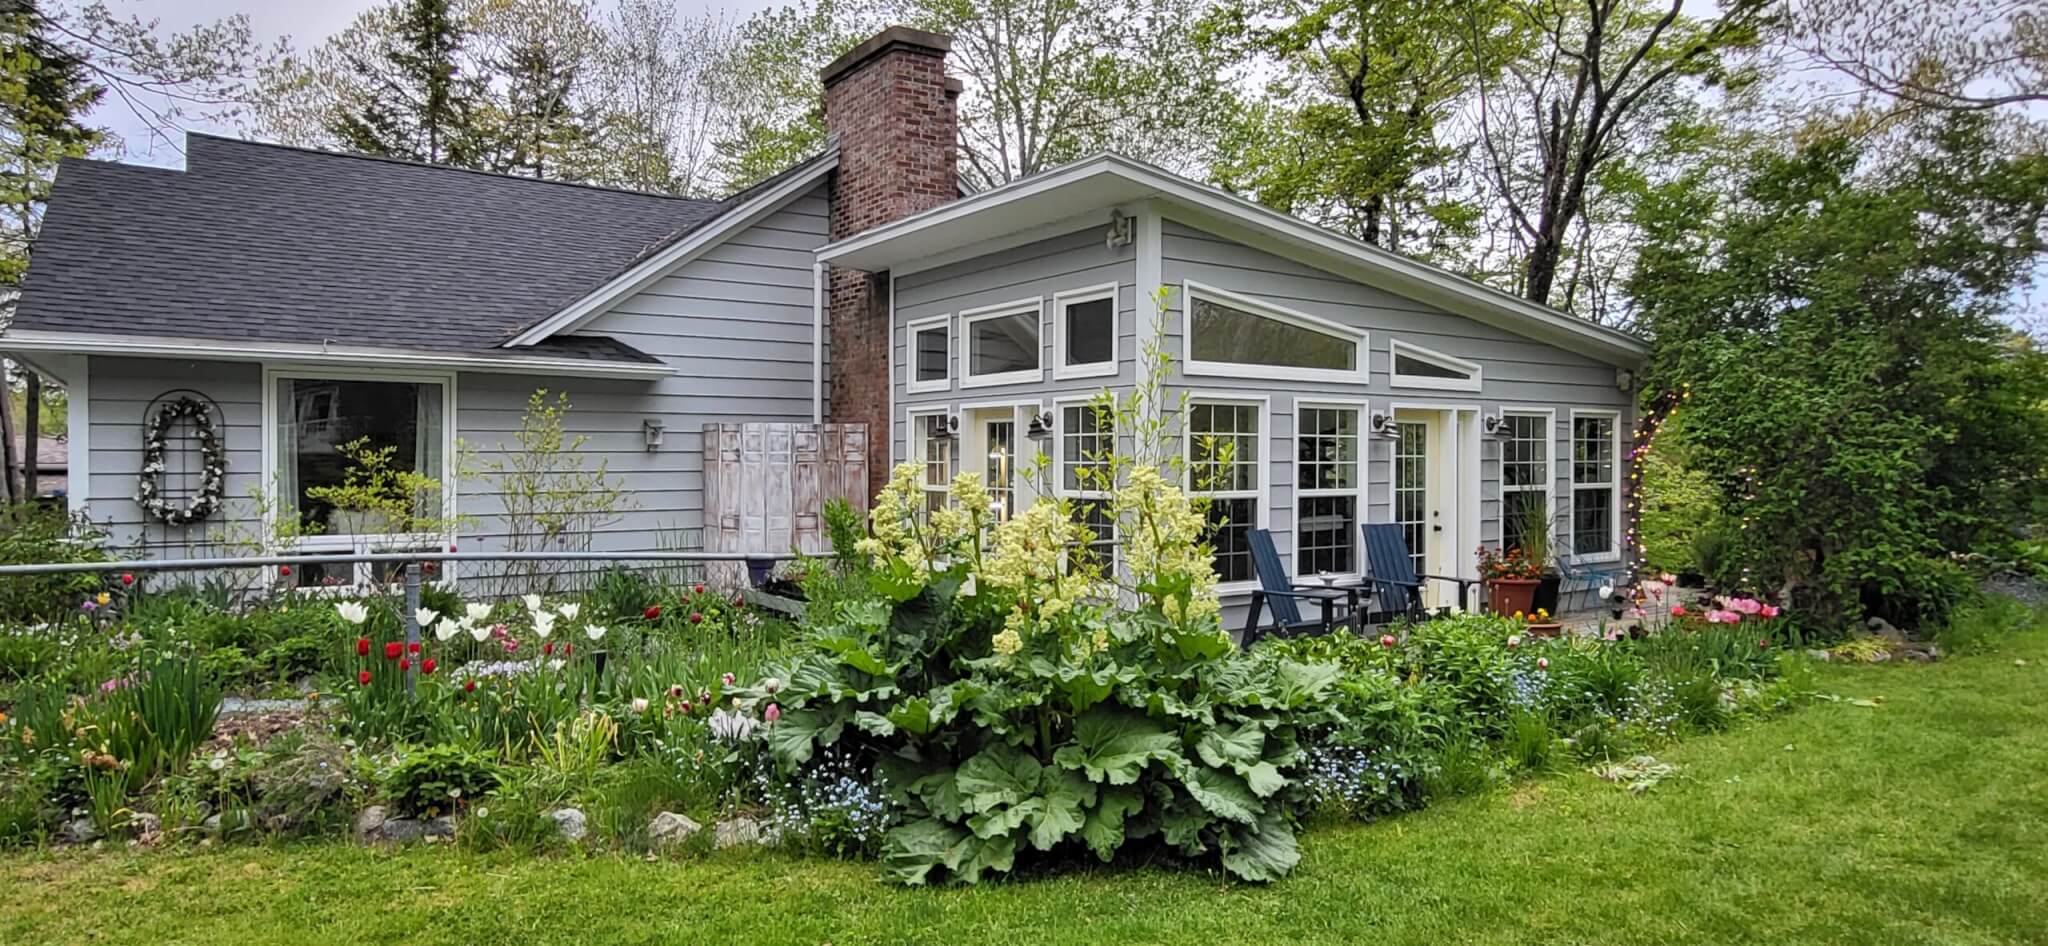
By Dorothy Dobbie Ken Macdonald’s garden in Regina isn’t the acreage he imagined managing when he went to agriculture college in the Maritimes, but it
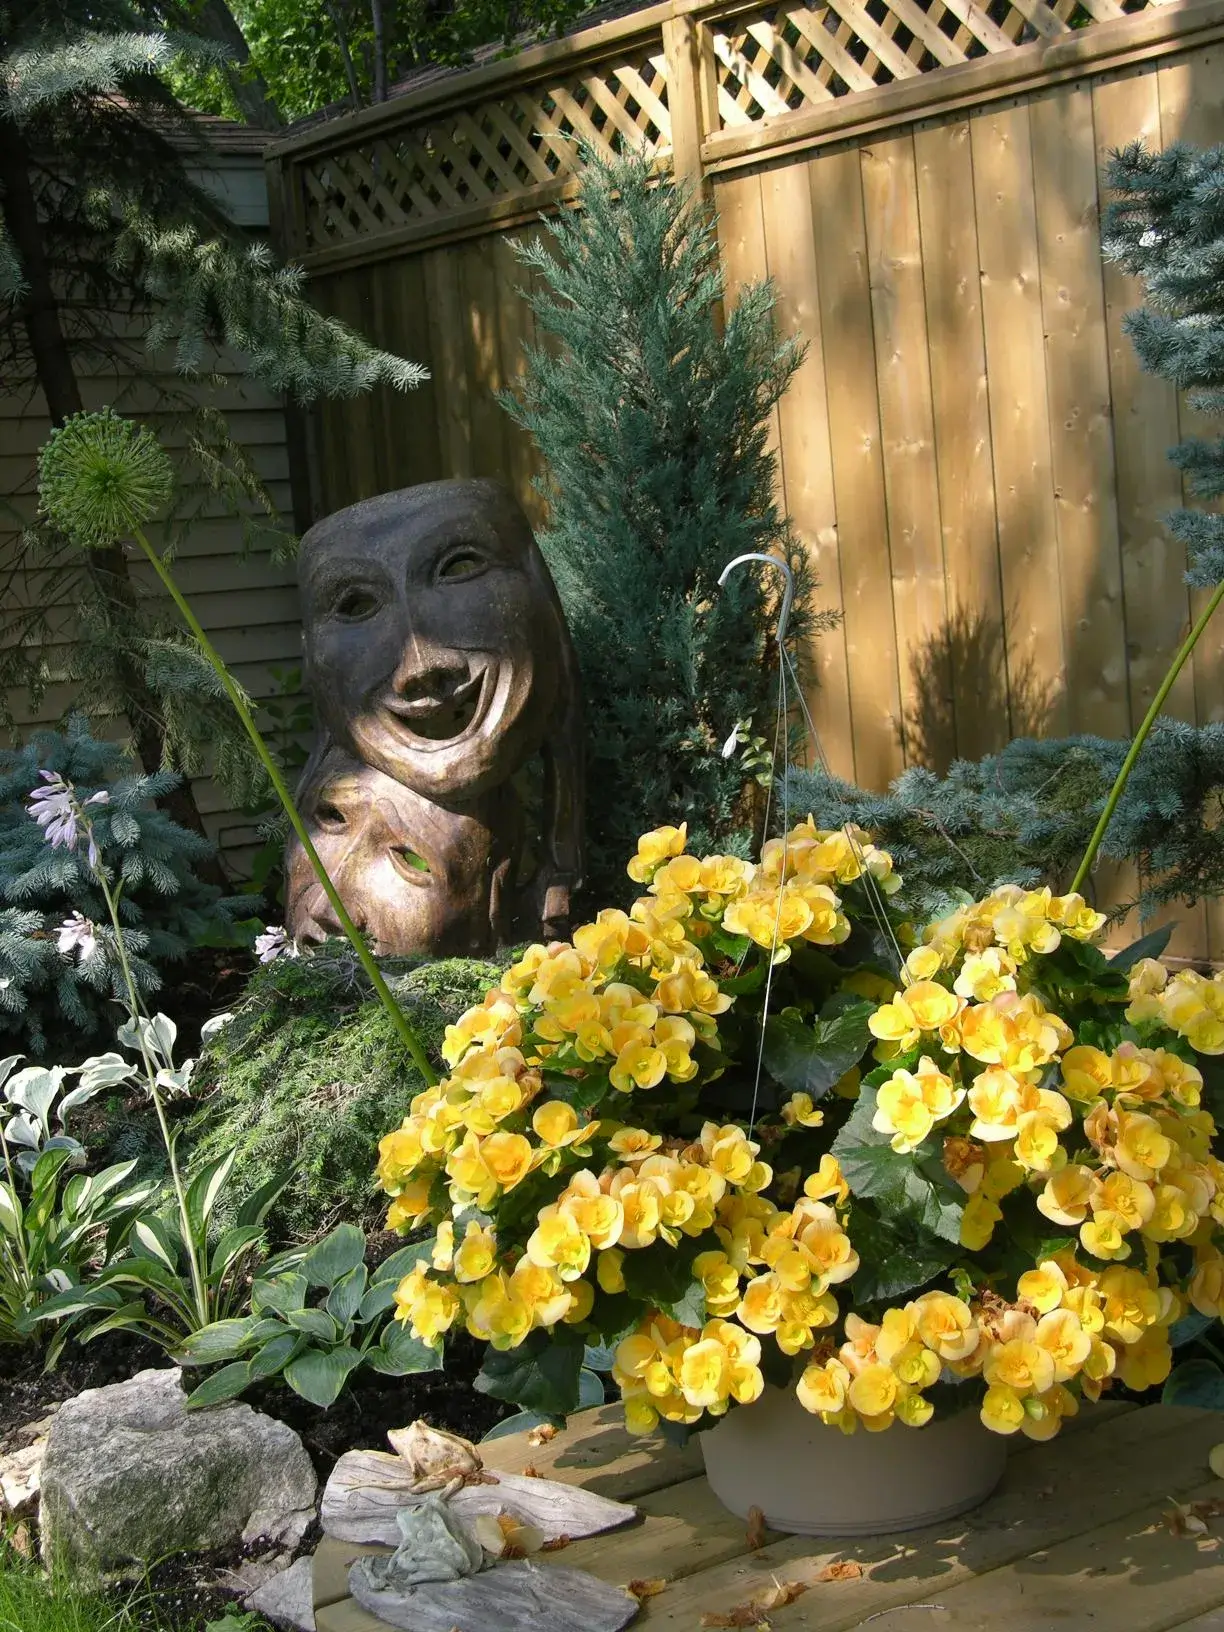
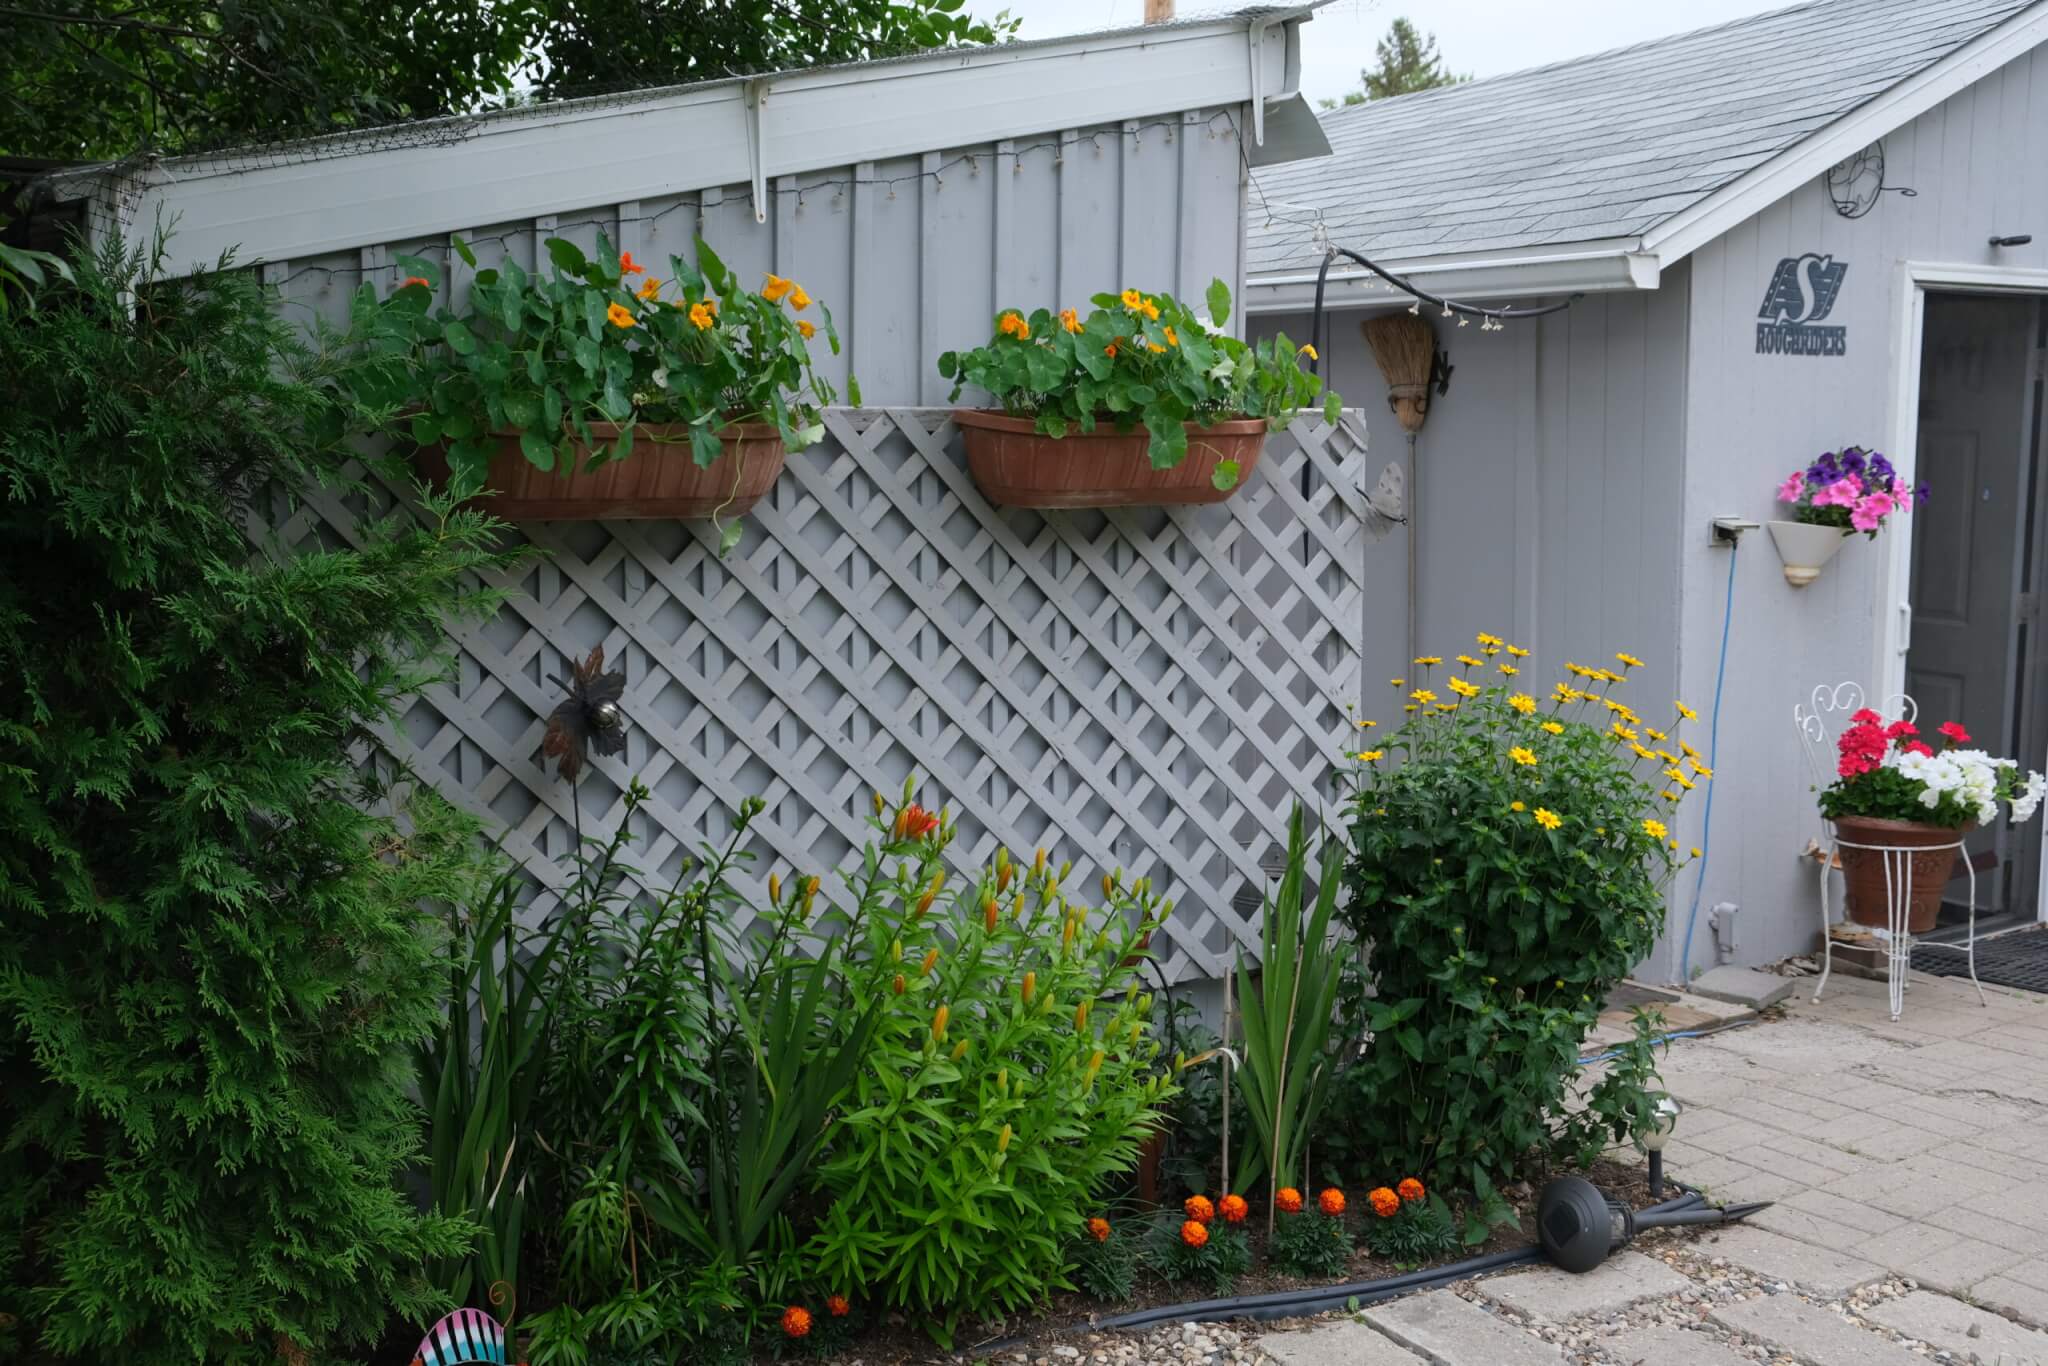
Story by Shauna Dobbie; images by David Johnson Stephanie Appleby-Jones has always been a gardener at heart. She refined her skills at her ¾-acre lakeside
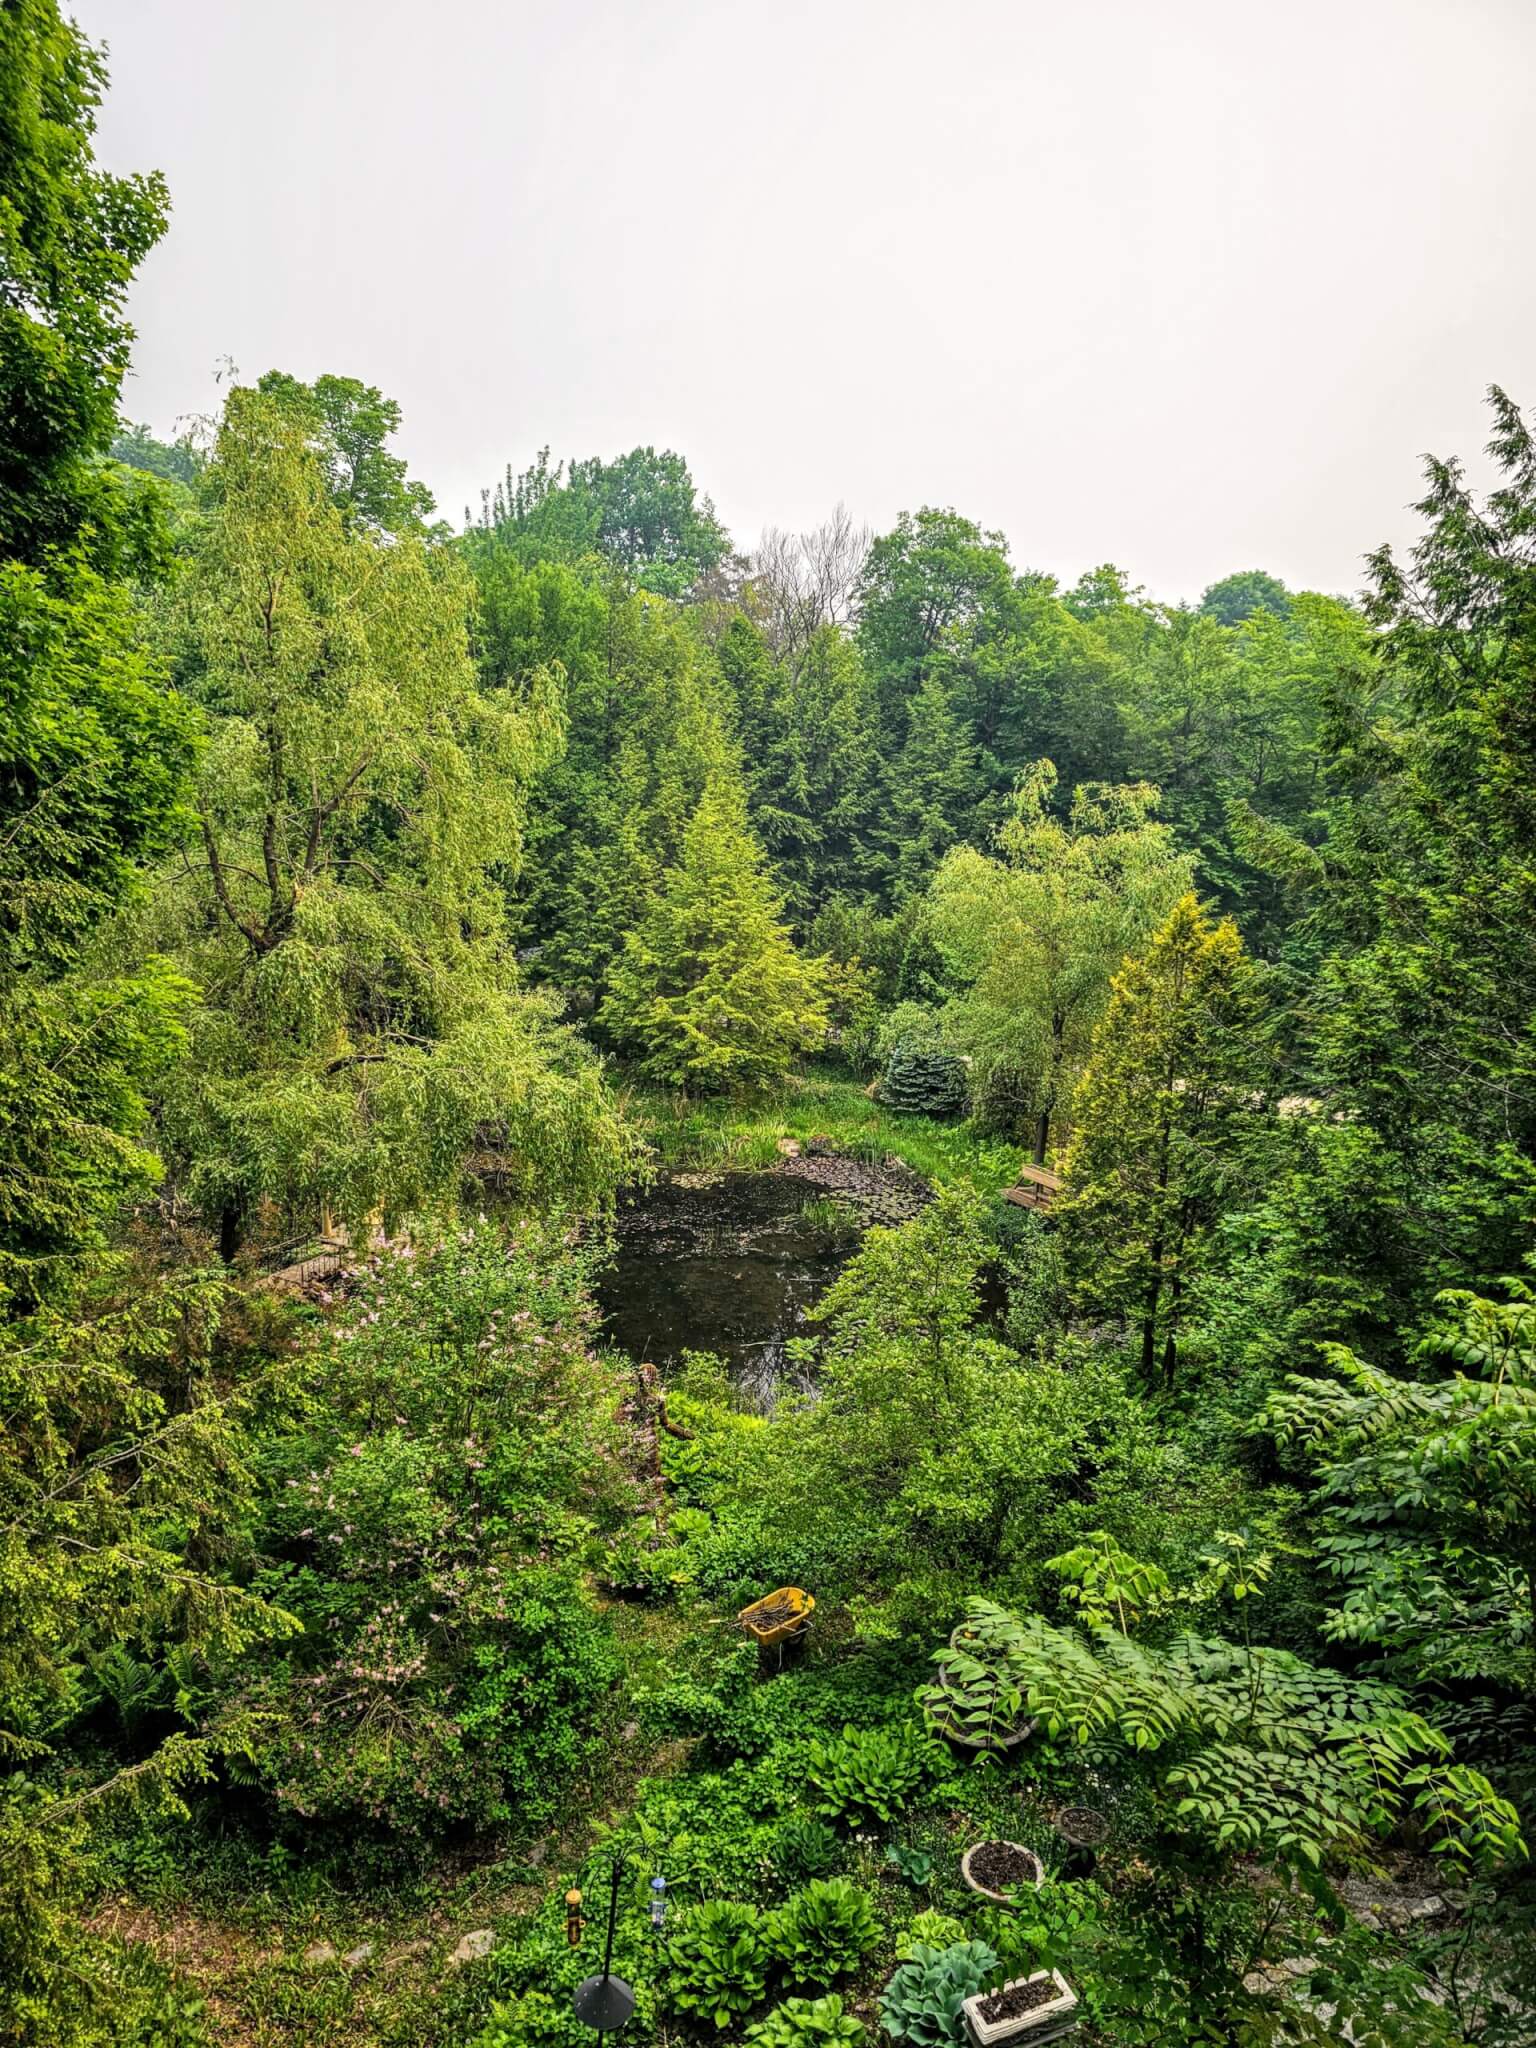
Story and photos by Dorothy Dobbie This story was published in Volume 4, Issue 4 It is a smoky early June day, perhaps a little