DIY Potters Bench
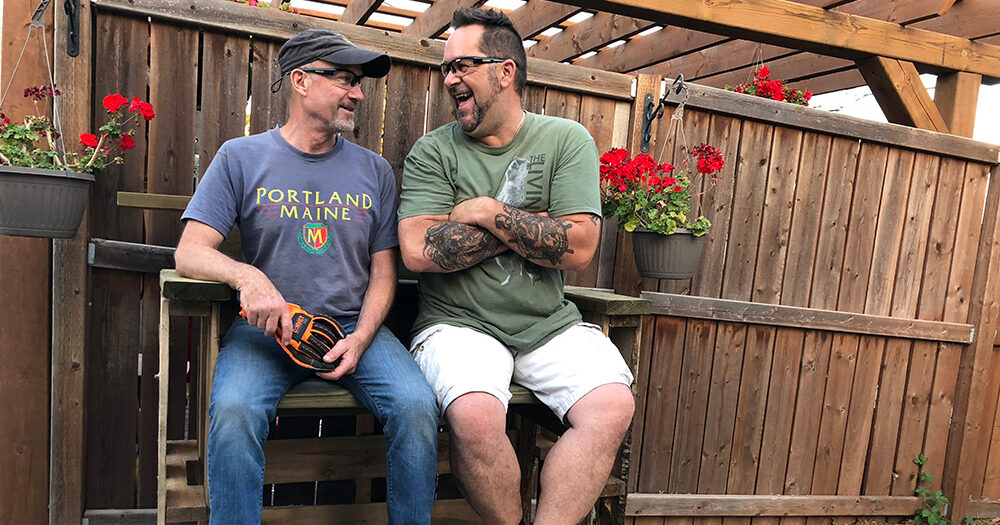
Ye Two Olde Dawgs build a potters bench
These two old dogs are up to something again. Armed with their recycled pallet boards, power tools and crazy antics, see how they DIY a potters bench…
By Ian Leatt
Picture this: there I am reading a book on a beautiful Sunday morning on one of my decks, the lawn is finally coming back to life, the planters and pots are starting to fill, the birds are singing merrily away and my own little red squirrel is busying herself with her daily routine. Yes, it’s my own little Eden, my very special relaxed place. I hear footsteps, I wonder who that could be? Trepidation now setting in!
“Morning Dawg,” comes a familiar gruff voice. “Do you have a pot on?”
“Help yourself. It’s in the kitchen!” is my instant reply, not looking up from my book. Sitting there I think to myself, what has he got in store for me today?
“Now, this one is more of a challenge”! Gord says, meandering over to my comfort place. Sitting down! My tranquility now non-existent!
He flips open his phone and says, “Look, here are some pictures of what I am thinking of.”
I take a look. “So what are you going to call this thing?” I ask, somewhat perplexed “I’m thinking a potter’s bench. Catchy name right?” Gord seems amused at his thoughts.
Here is what you will need to convert pallets to a potter’s bench.
4 pallet boards
Hammers
Screws, (1 ½ inch plus 2 inch)
Wood stain
2 2”x4” (8 feet)
3 2”x1” (in 8-foot lengths)
1 chalk line
1 piece of 4’x8’ board for the counter top and shelf (a board of choice)
Directions:
Place a chalk line over the center of a pallet board and mark it. Cut through each piece until you have two halves. Align one half with a full pallet board and stand together. This will form the back of the potter’s bench.
Cut three pieces of 2”x1” to 12” lengths, and place inside the complete board, screw in place. (best to pre-drill holes so as not to split the wood). Align the half board in place ensuring it is level then screw the 2”x1” ends to the board. The end result should be one large board.
Using another board, mark a chalk line through the center once again and cut in equal halves. The same process as before, make six one-foot lengths of 2”x1” and affix three pieces to each end, then screw in place on both sides.
You still have a half a pallet board, this can now be placed on top of the back board, giving height to the potter’s bench. The same process is required, you will need three one-foot lengths of 2”x1”. Screw these into place. Finally, a quarter of a pallet board is required. Use the chalk line to divide the remaining board into four equal pieces. Before cutting measure, the space required to ensure all is correct. If all is good cut the remaining piece and position into place.
Upon review you should have the basic frame of the potter’s bench. A tee bar is the best option here. Measure the length of the potter’s bench and mark this on the 2”x4”. Cut and pre-drill holes. Place into position in the front of the bench, screw into place.
Measure the top of the bench and mark the 4”x8” board. Cut out the first piece and place on top of the area of the bench. Screw into place. Repeat this step with the back board. Finally place the remaining 2”x4” piece on the top where the shelf will be and measure accordingly (you can give this a lip – it is all about the look you require). Once measured, cut and screw into place.
Finally, stain or paint – whatever takes your fancy. It is a creative piece that is all about you.
Check out our YouTube channel for more videos.
For more Two Olde Dawgs projects, click here.


